How to Digitize Calligraphy
Something I wish I had learned earlier was how to digitize my calligraphy work. That’s why (after the longest blog introduction EVER), I am going to teach you my way to digitize my work. This is not the only way to do this! This is what works for me, my needs, my lettering, and my skill set. Do with it as you please!
You will need:
- Your artwork as a jpg file
- Scanner or iPhone (more on that below)
- Adobe Illustrator (you can do this in Photoshop, but I don’t like PS)
Step One
Create a jpg file of your lettering. Take a picture or scan of the work you want to digitize. For me, if I am going to digitize brush lettering, I scan the work. If I am going to digitize something I wrote in pen, marker, or sharpie, I just snap a photo on my iPhone. Hashtag lazy.
Step Two
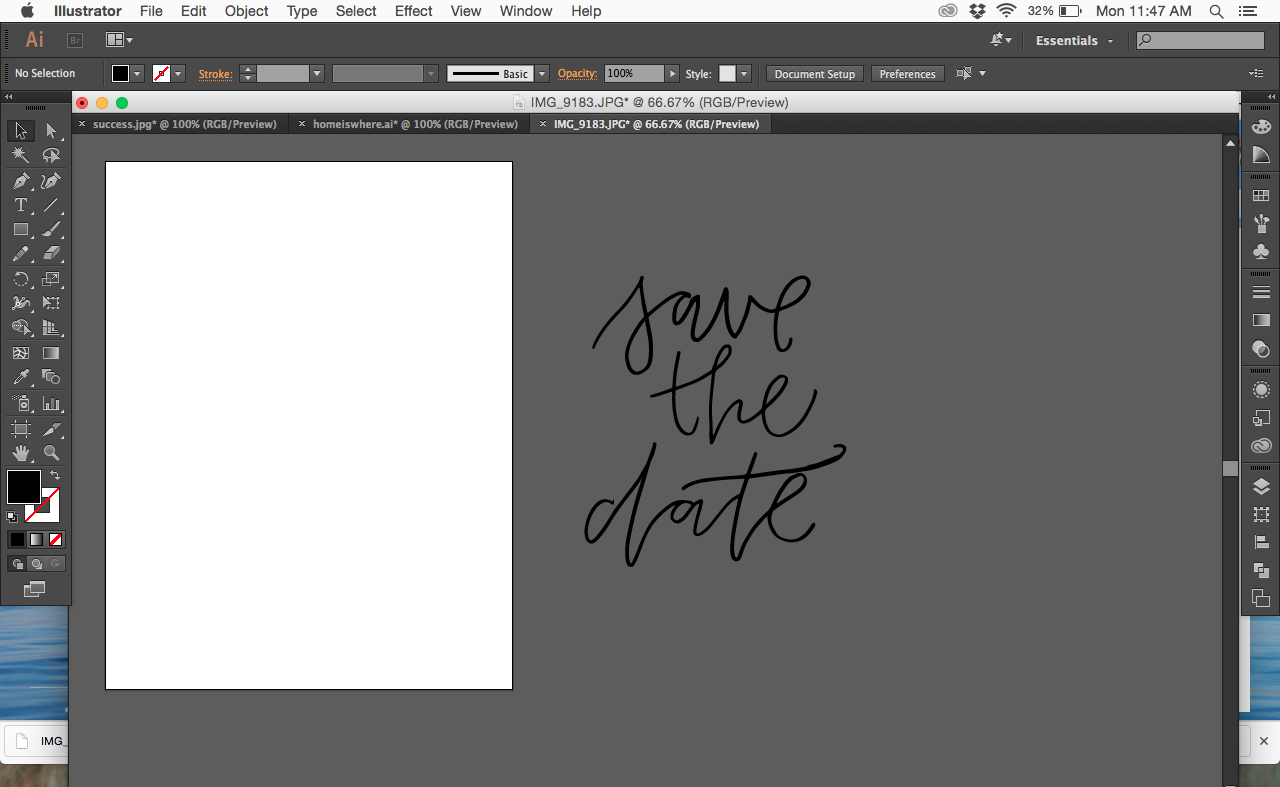
Place the file in Illustrator. Import a jpg file of your artwork into Adobe Illustrator (AI). I just drag and drop from my desktop to AI. Once it has imported, select the image so at the top of the screen you see a button that reads “Image Trace.” Click that.
Step Three
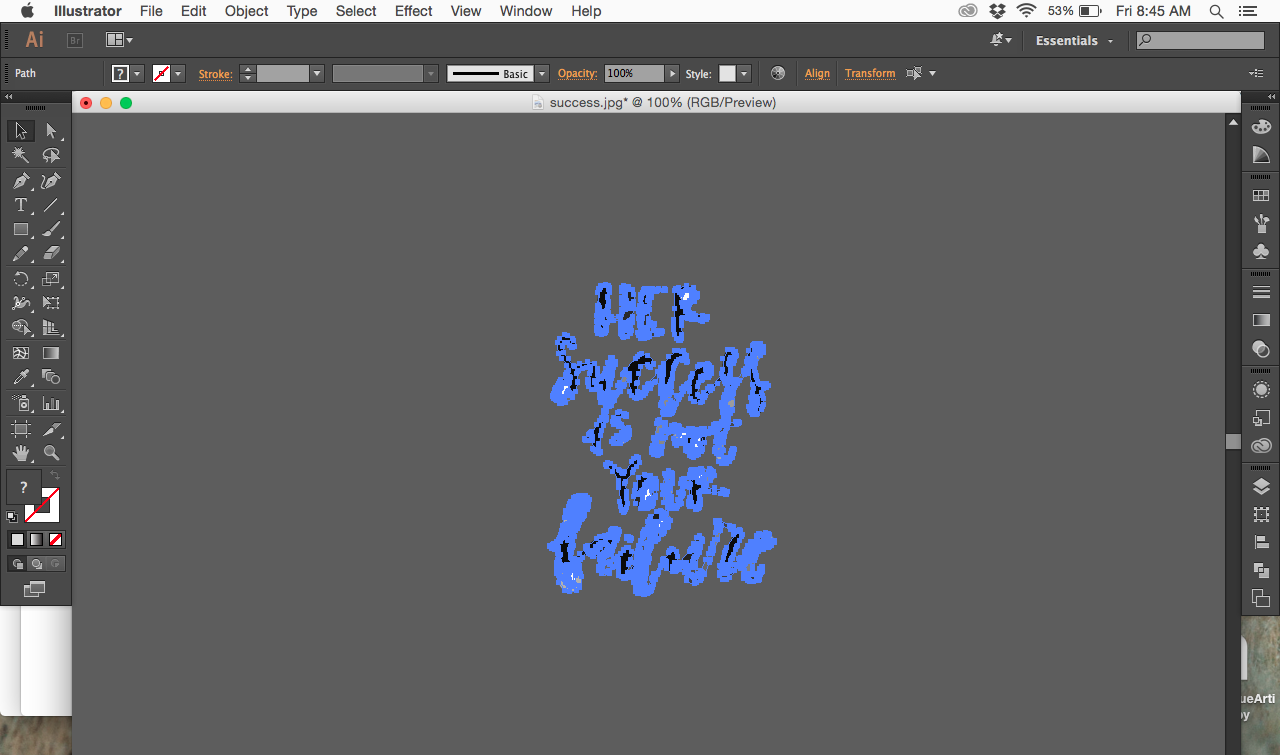
Creating a vector image. The next move depends on the type of artwork you hope to digitize. I will show pictures for both brush lettering and lettering using a sharpie. For the brush lettering, I click the little arrow to the right of the “Image Trace” button and select “Shades of Gray.”
Step Four
Delete the white background. Once the image has traced, you will need to click "Expand" which is to the right of the Image Trace button. Once you do that, you will need to "ungroup" the lettering from the white that surrounds it. Simply "select" the image and then use the shortcut (cmd+shift+G) to "ungroup it (And in the future if you ever want to "group" something, the shortcut is cmd+G!). This then allows you to get rid of the white background.
Easy way to select ALL the white background: click on one portion of the white background, navigate to "Select" on the Menu bar, scroll down to "Same" and then select "Fill Color". Then hit delete on your keyboard and it's done!
Step Five
Getting the lettering ready for exporting. For this example, I am preparing a quote for my Instagram feed. I have a file saved that I use every time I create a square image. To create this go to File > New > adjust the width and height (I do 300 pixels x 300 pixels) > click OK.
Step Six
Manipulating the design. Make adjustments to the size and move the design around to where you need it. If you are creating a file for something like a t-shirt design, you don't need to do this step. You can skip to exporting.
Want some shortcuts?
Hold down "Shift" when you adjust the size of any object. This makes it so the dimension ratios stay the same while you adjust the size.
Command + [ is zoom in. Command + ] is zoom out.
Command + Z is "undo"
Step Seven
Exporting the design. If you are exporting an image (like below), you want to export it as a jpg image. A jpg image keeps the background in the image. If you are exporting a design that will be used from printing, you want to export it as a png. A png file means that the background will always be transparent.
These are the tutorial images for digitizing non-brush lettering:
Import the image.
Select "Image Trace"
Click "Expand."
"Ungroup" the background from the lettering by clicking "Command+Shift+G." Select only the white background and "delete." Now you are ready to Export! See Step Seven above.
If you're looking to turn your lettering skills into a business, make sure you get your hands on my Online Product Shop Checklist!


